Add a new course with TPA Manager
This tutorial is designed to guide users through the process of creating a new course in the TPA Manager and subsequently joining a team Register new Teams. The tutorial is presented in a step-by-step format, ensuring that users can easily follow the instructions and complete the process effectively.
This service is in rapid development. New features may be added or differ from this guide.
-
Before starting the tutorial, it's important to note that a valid authorization is required to use some features.
-
If you are in the development environment, the correct authorization depends on where the Scopes Manager service is running. On console:
c025ff8502893fc6c5a87cf3febe4882or docker:bluejay-scopes-private-key. -
If you are in the production environment, the production operator should provide you with the necessary credentials.
Navegate to create a new course
First of all, being on the TPA Manager, you must navigate to the Create Course page. You can do this by clicking on the New Course button.

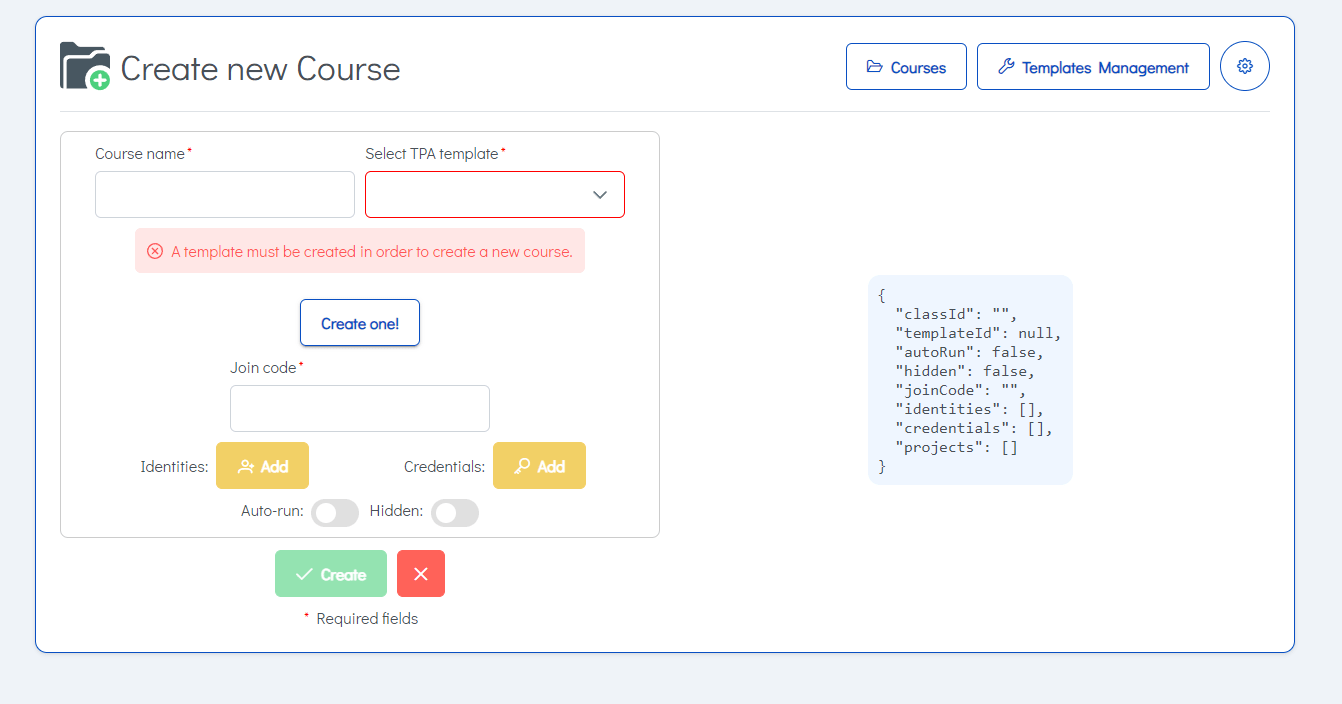
So, when on the Create Course page, we can see that if none exist previously, a message will appear indicating that a template needs to be created. We can click the Create one! button or go to the templates management section by clicking the button in the top right corner.
Create Template from sample
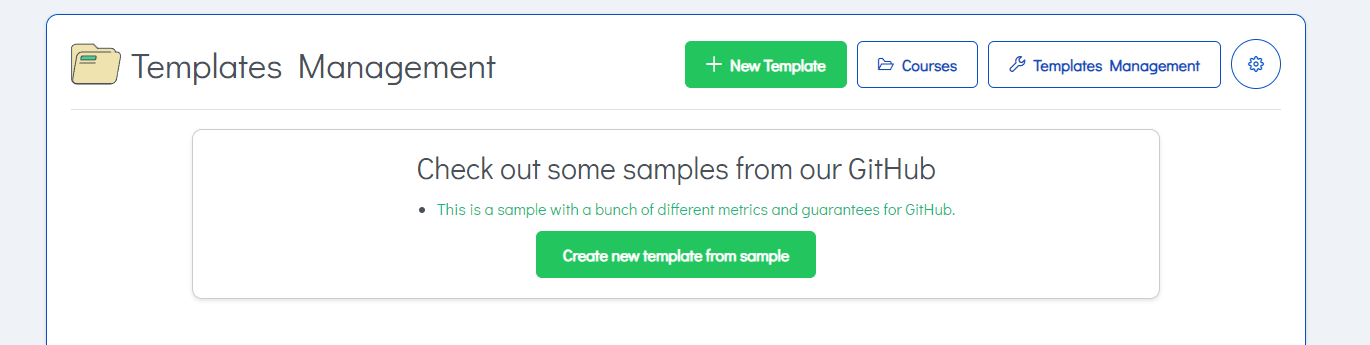
Once you're in the Templates section, you can save a template by downloading from the Bluejay Zoo or creating your own template.json and then uploading it.
Please follow these steps to create one template:
-
Click create from sample
-
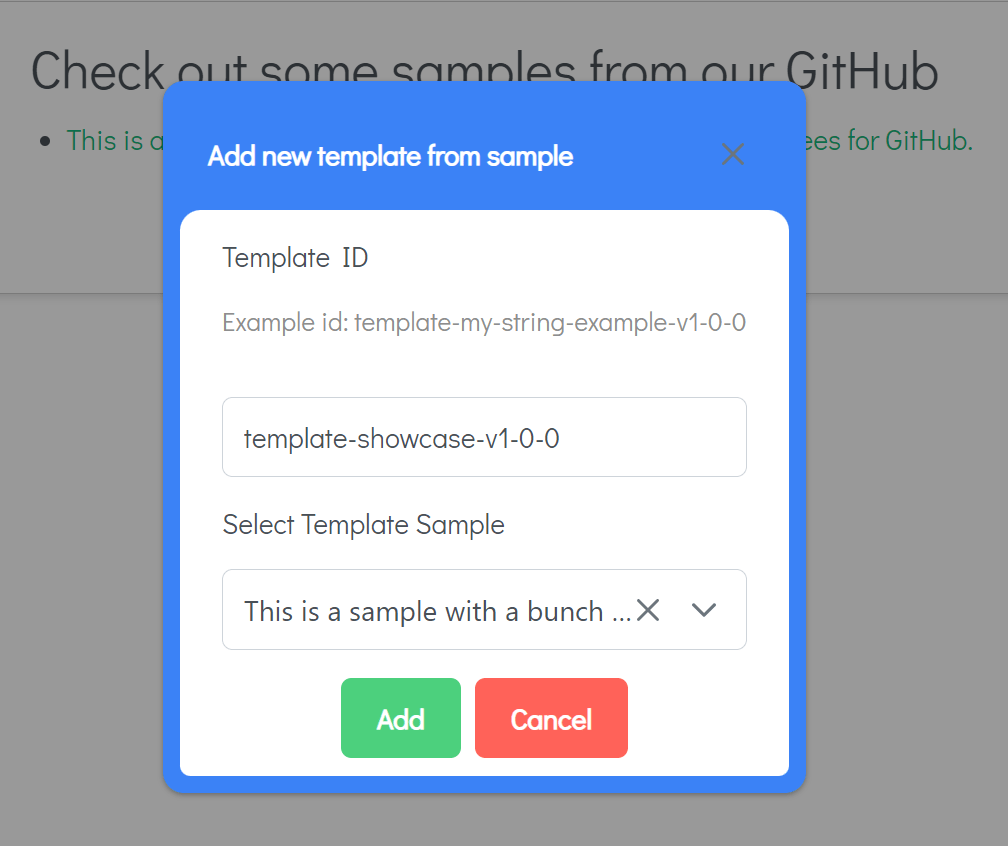
You will see a dialog where you can fill the template id and upload the file.
bear in mind- Tempate id must be in the format
template-<name>-version - Version must be
vX-X-Xwhere X is a number - Example:
template-PSG2-2425-v1-3s-12
- Tempate id must be in the format
-
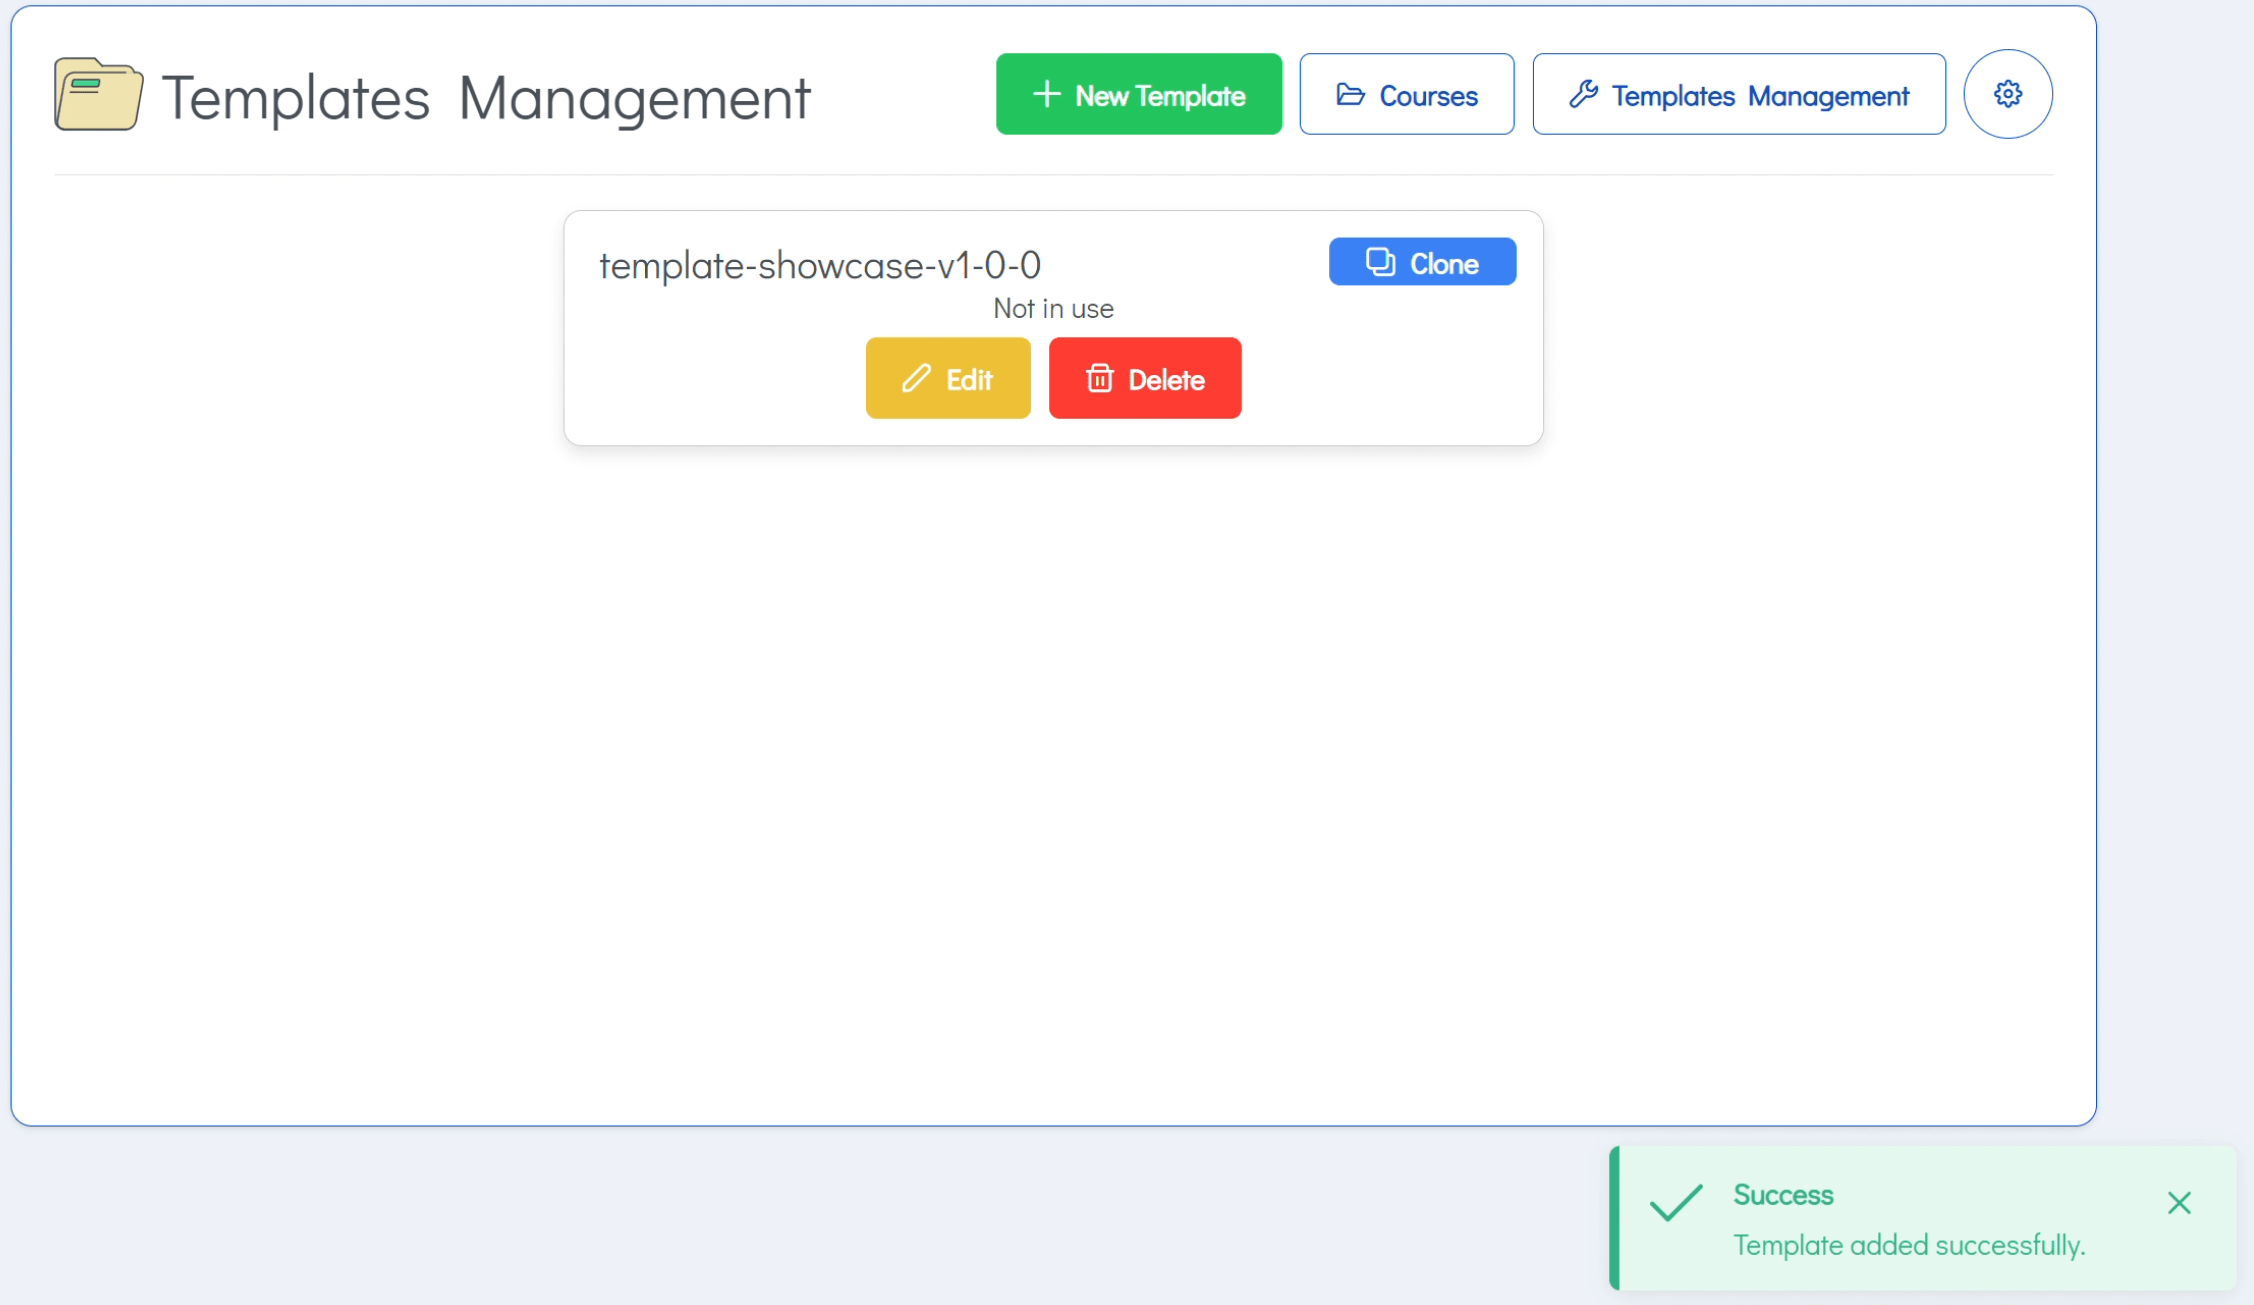
Press add Button. This will create the template and redirect you to the Templates section. The new template will be listed and you will be able to edit and delete it.
Return to Create Course Page and fill the fields
Now that we have a template, we can proceed to fill in the necessary details to create the course. The fields are:
Required Fields
classId: Course name. Example:Introduction to Programming.templateId: Select the template we just created. Example:template-PSG2-2425-v1-3s-12.autoRun: This option activates automatic TPA calculations for each new team. When a team joins the course on the JOIN page, a TPA will be created, and a task will be scheduled to periodically calculate the team's TPA adherence. Task can be enabled/disabled in the course page. If you prefer to set all courses calculations at once, you can do it later on that page. Example:false.hidden: Option to set whether the course will be hidden or visible. This includes hidden in the Course Browser Page (professors) and in the Join Page (teams). Example:false.
Optional Fields
joinCode: Code that students will use to enroll in the course. Example:JOIN2023.identities: Additional identity configurations. Example: ``.credentials: Additional credentials. Example: ``.hideDashboardLink: A toggle to hide the dashboard link from teams when joining the course. Example:true.
All fields can later be edited in the Course Browser Page by clicking the Edit button of the course.
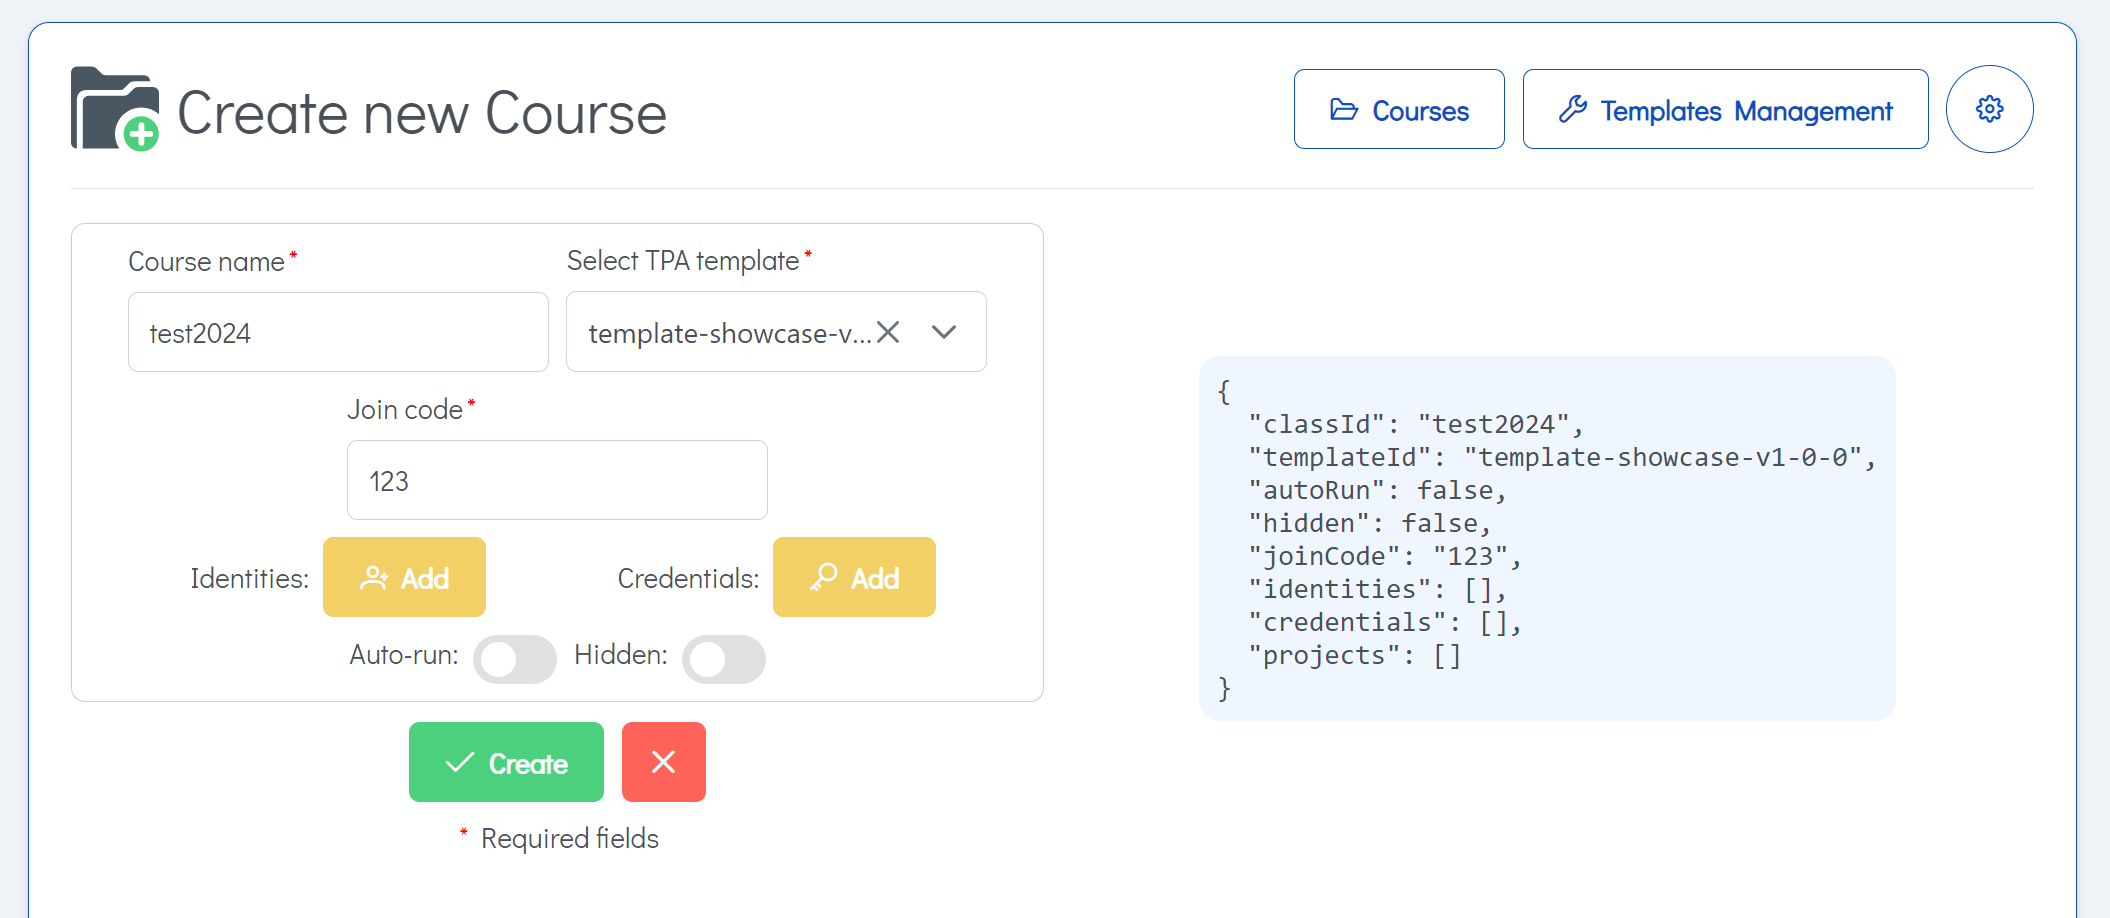
Once you have filled in all the fields, click the Create button. If the course is created successfully, you will be redirected to home page and you will see the new course listed.
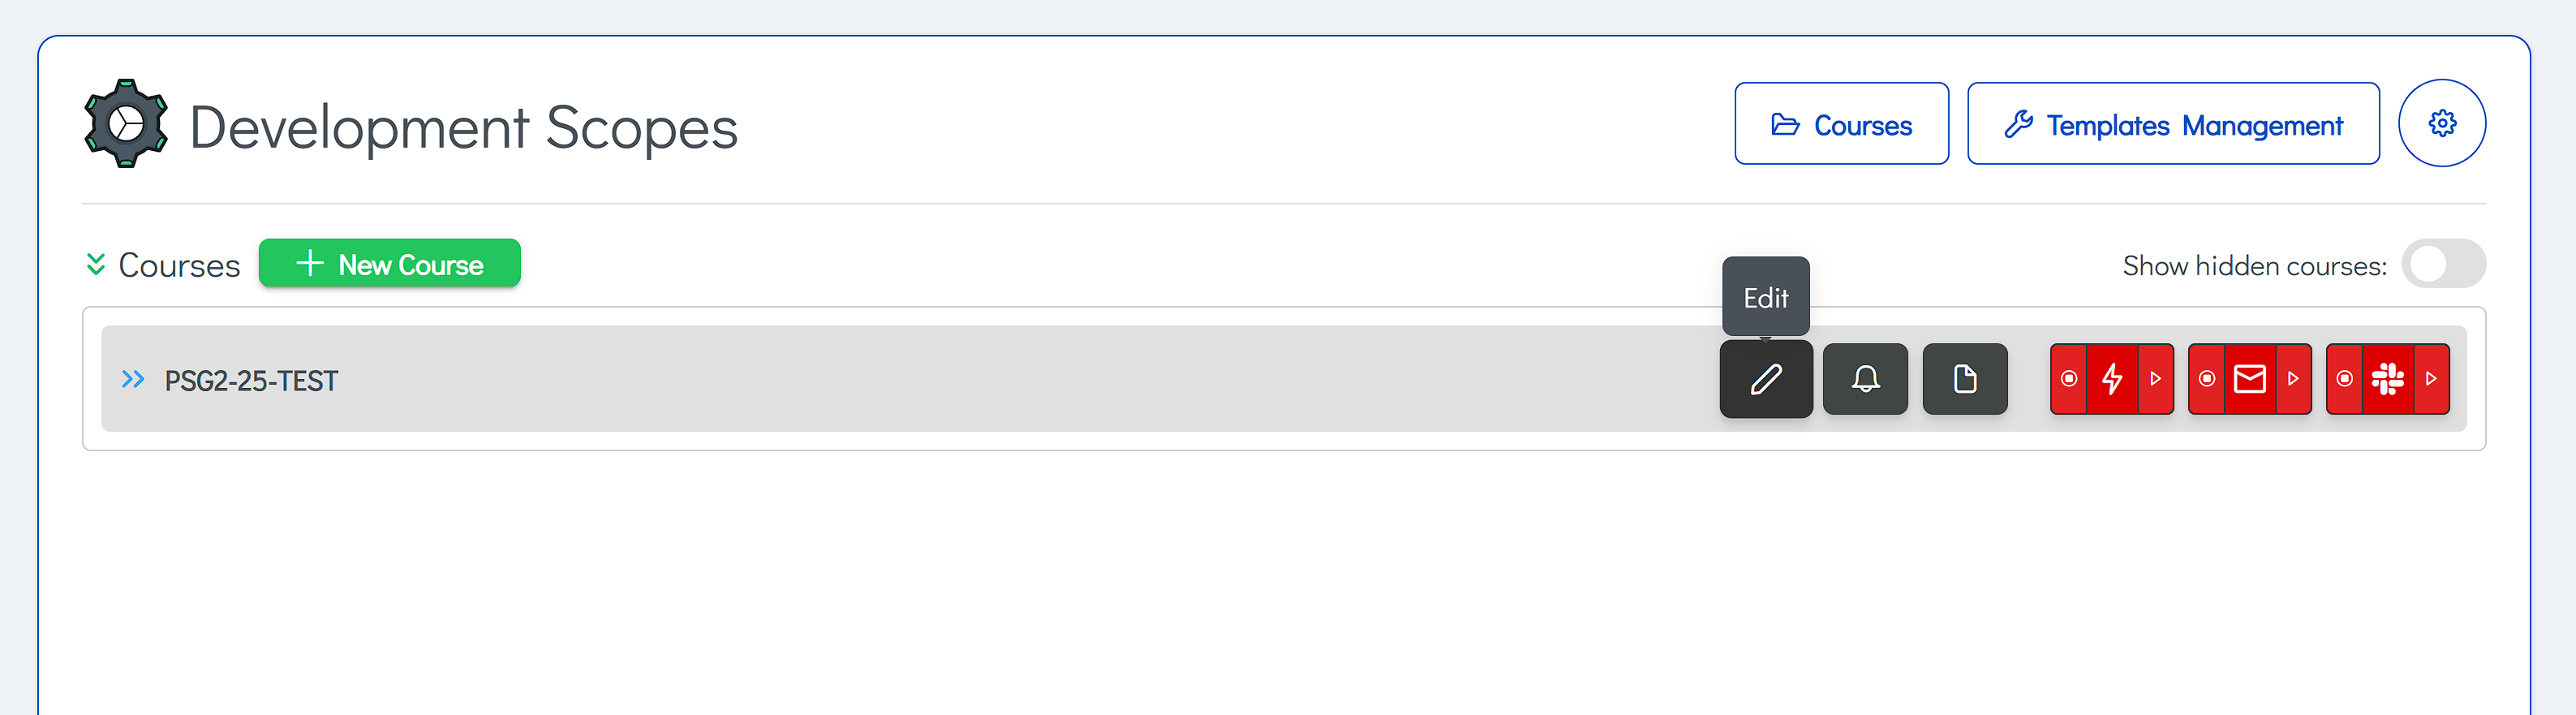
Now that the course has been created, you can proceed to Register new Teams to add teams to the course.